- In your dashboard go to Plugins → Add New Plugin, search for SoftIcon Store Locator, then click Install and Activate.
- Edit a page or post, open the block inserter (+) and add the Store Locator block.
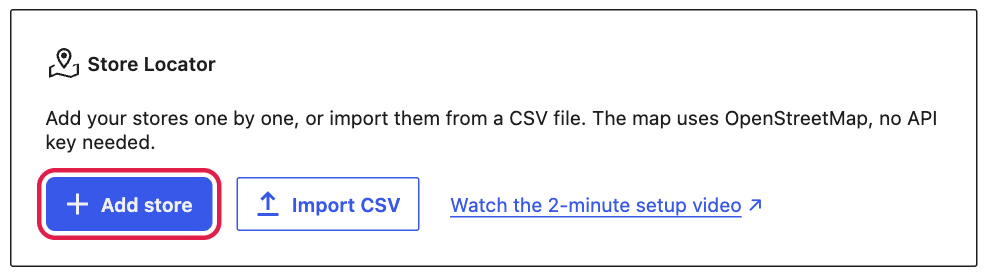
- Press Add store. The store form opens in the block sidebar.
- Fill in Name, Address, Town or city, Postcode and Country.
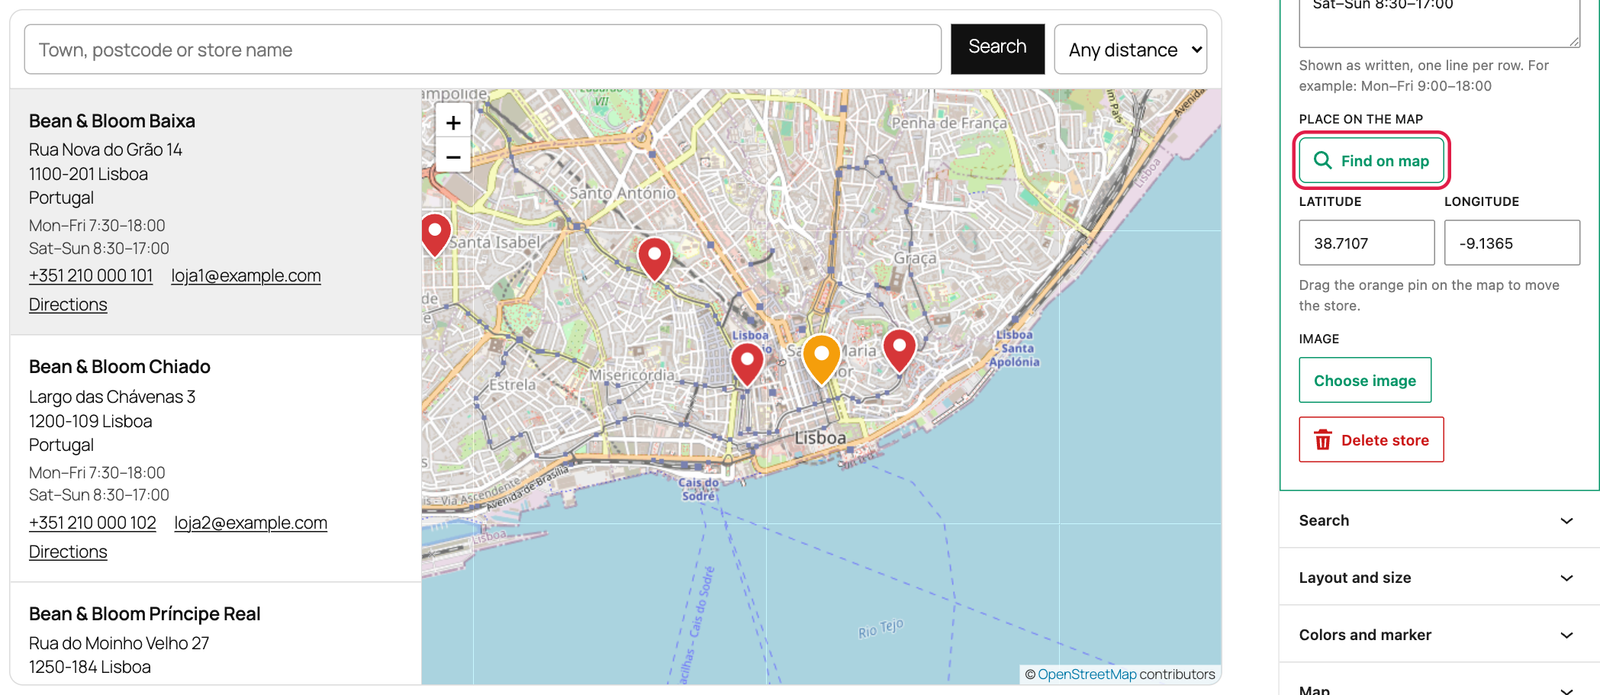
- Press Find on map. The store gets a pin on the map in the editor. If it is not in the right spot, drag the orange pin.
- Press All stores to go back to the list, and add your other stores the same way. For many stores, use Import CSV instead.
- Publish the page.
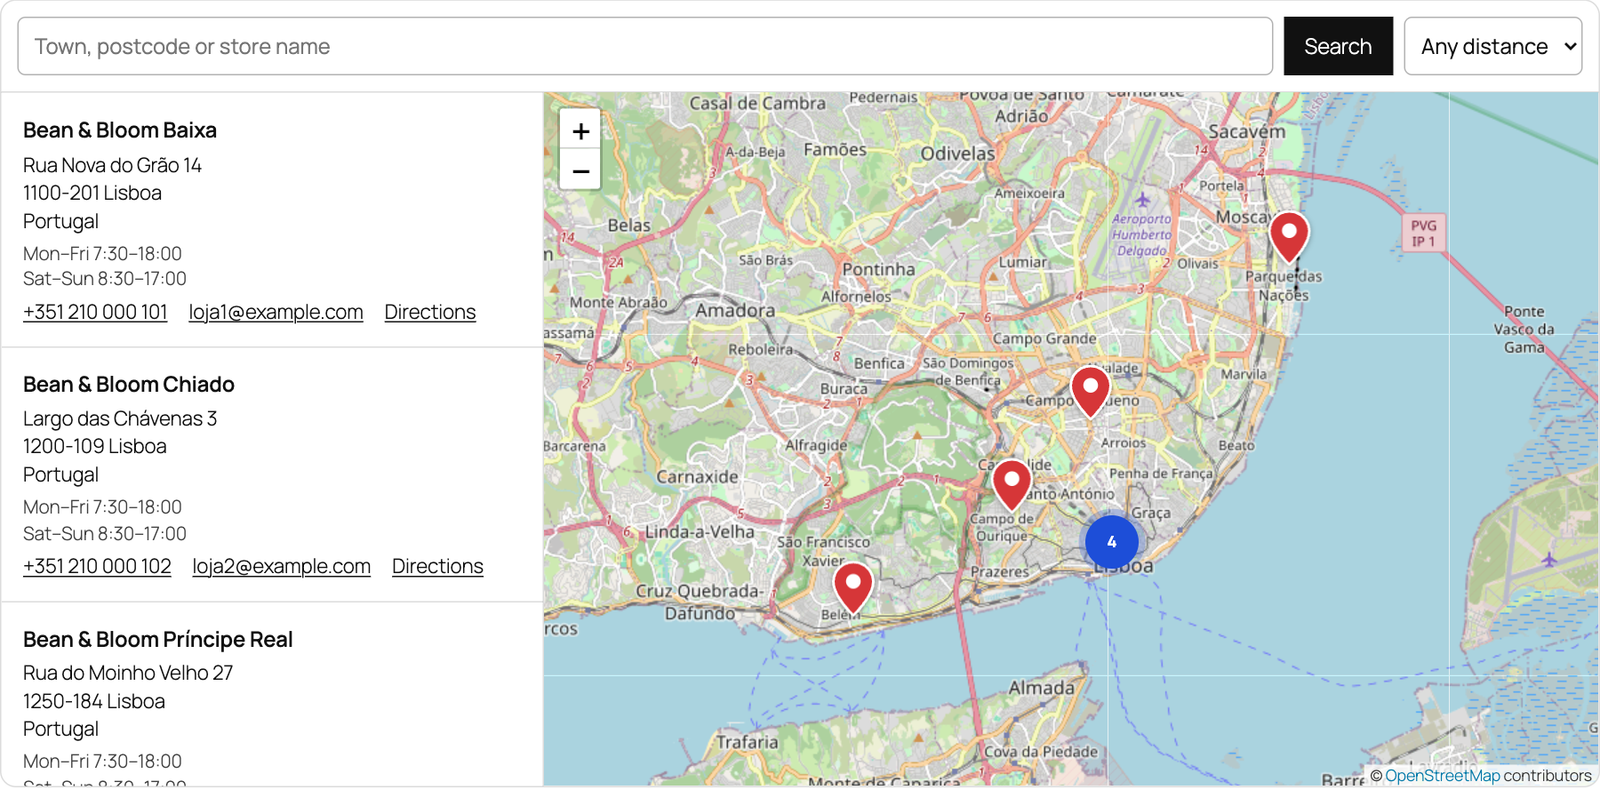
Visitors see a search box, the map and the list of your stores. They can type a town, a postcode or a store name, or press Near me, and the nearest stores come first. There is no Google Maps API key to set up: the map uses OpenStreetMap.