
Match the store locator to your brand: marker and button colors, your own marker picture, and the block’s background and text.
Colors
- Select the block and open the Colors and marker panel.
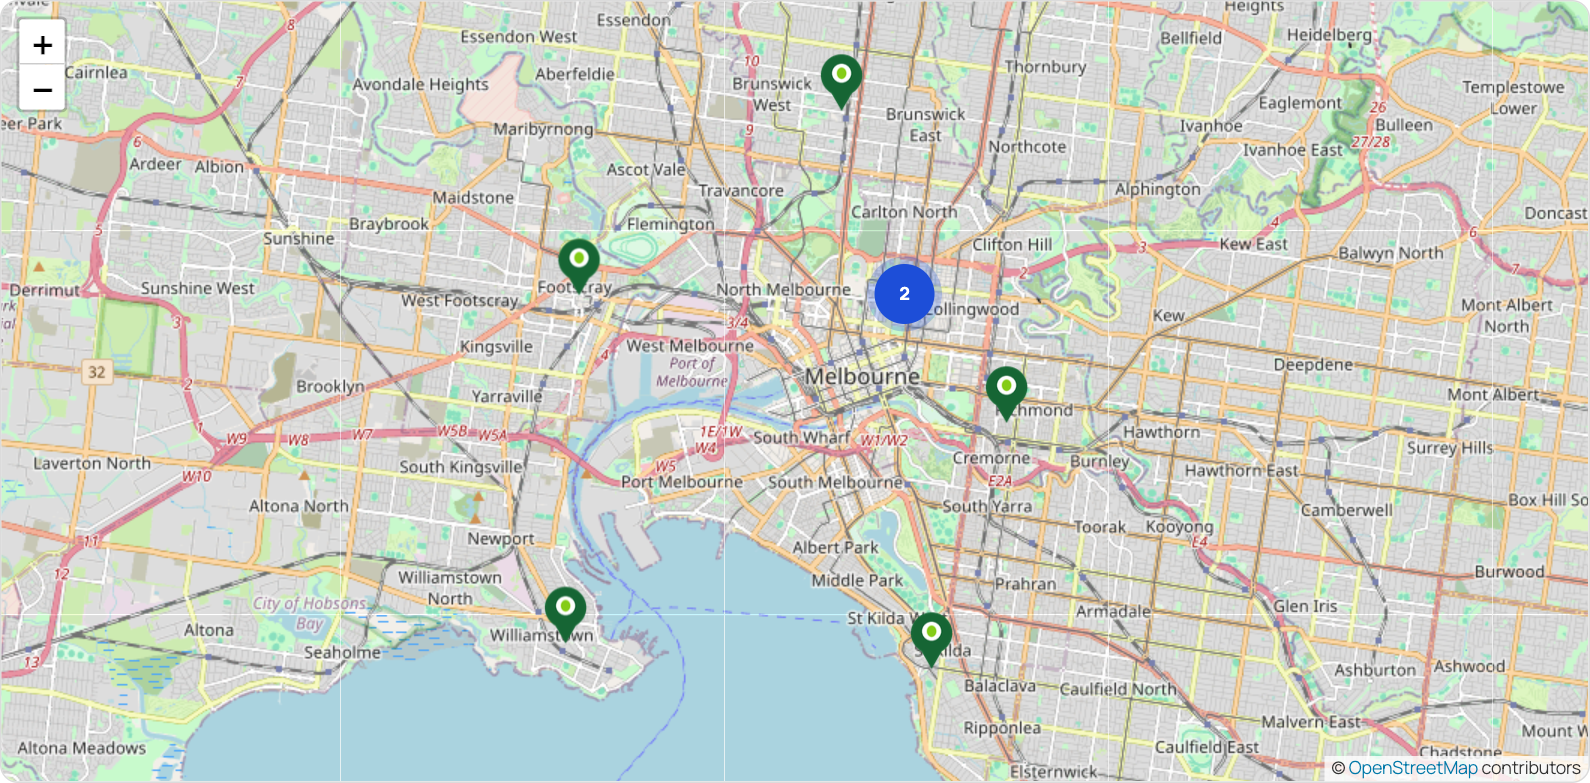
- Set Marker (the pin), Groups of markers (the numbered circles), Button and Button text (the Search and Show map buttons).
- For the background, text and link colors and the text size, use WordPress’s own Color and Typography panels further down the sidebar.

A color you leave empty keeps the default: a red pin, blue groups, and your theme’s buttons.
Your own marker picture
- In Colors and marker, press Choose picture under Marker picture.
- Pick your logo or an icon from the Media Library.

The picture replaces the pin on the map, shown up to 40 × 40 px and standing on its bottom edge, so the point of the place is the middle of its lower side. A square PNG with a see-through background looks best. Replace picture changes it and Use the pin again goes back to the pin.
- WordPress does not accept SVG uploads on its own. Use a PNG, or a plugin that allows SVG.
- The groups of markers keep their numbered circles; only their color changes.
- In the editor, the store you are editing always has an orange pin, so you can see which one you are dragging.
Watch this part of the video tutorial
See the brand colors demo and the map-only demo with its own marker